
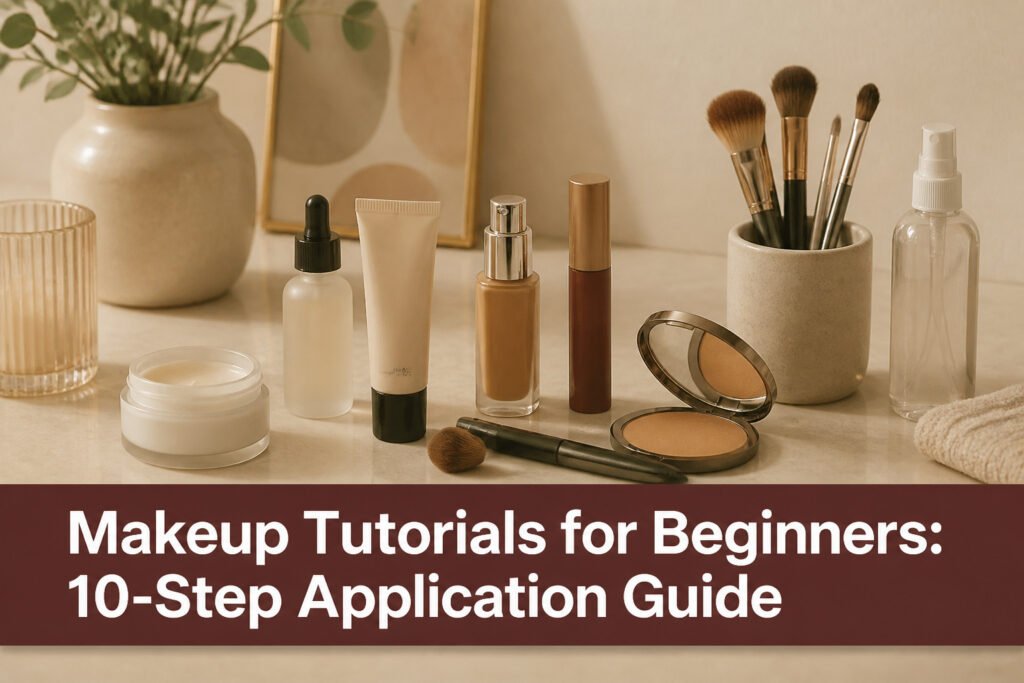
A makeup tutorial for beginners is a ten-step sequence that starts with skincare and ends with setting spray, but it only works if you respect the timing between layers. Rush from moisturizer to primer and the two slip against each other, dissolving the grip that was supposed to last until evening. The full routine runs from cleanser through eyebrow grooming, and the beginners who abandon it by noon are usually the ones who skipped primer entirely.
Skincare Preparation
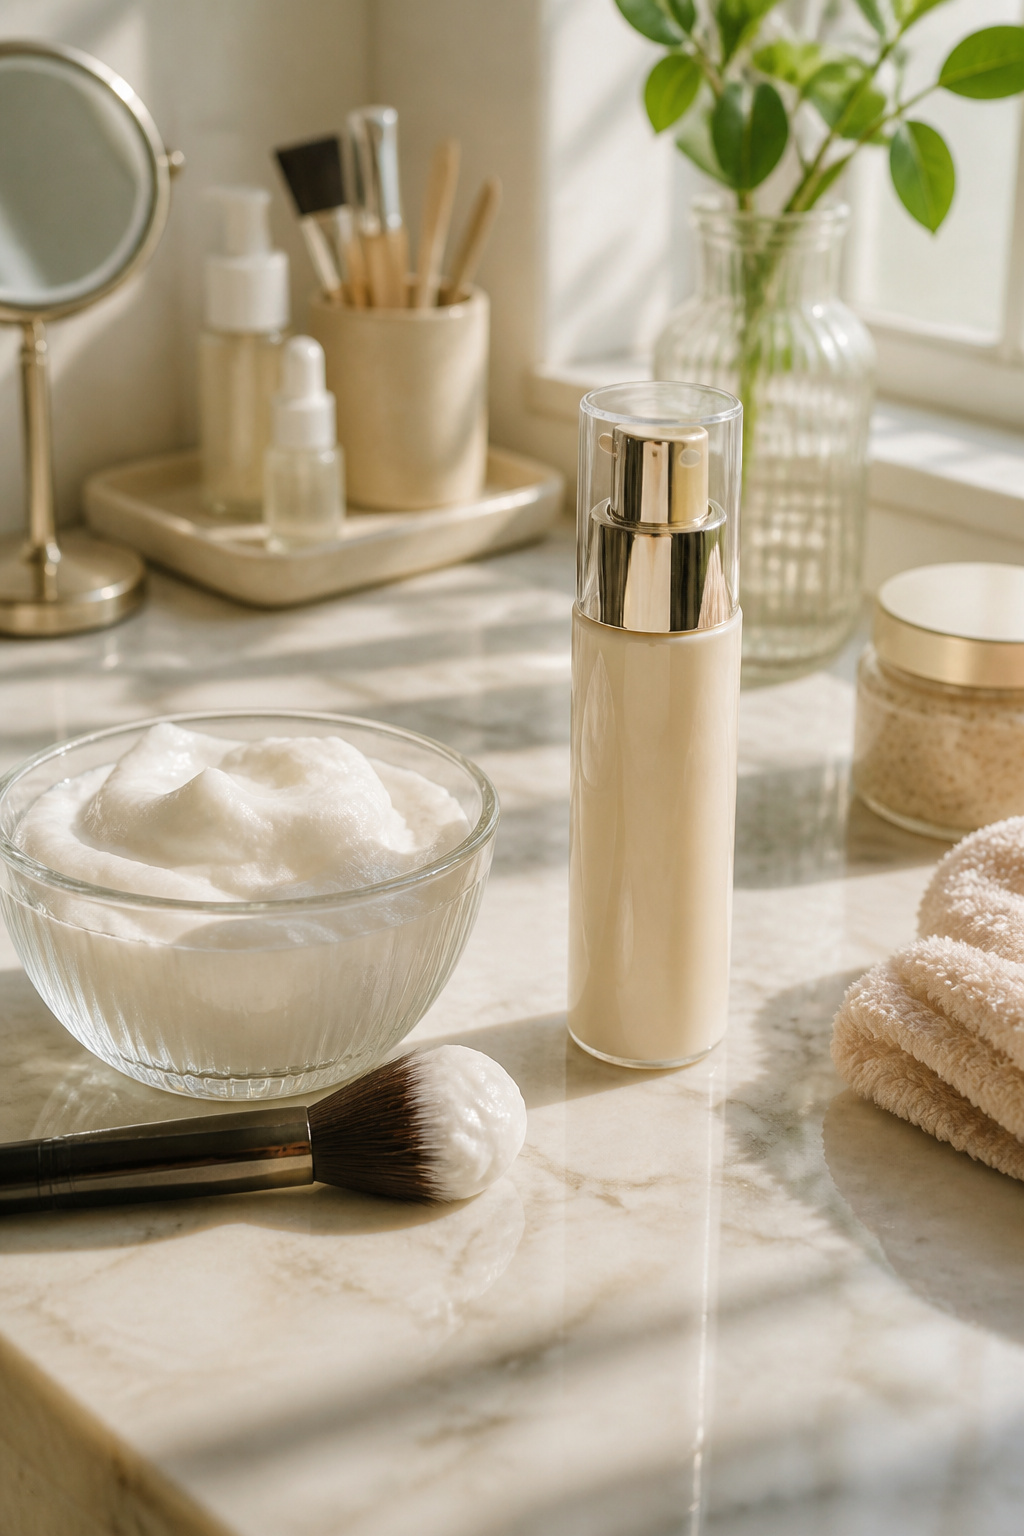
You have about sixty minutes before skipped skincare announces itself as patchy, sliding, or dull makeup. Start with a gentle cleanser to lift oil and overnight residue. The L’Oréal Paris RevitaLift Radiant Smoothing Cream Cleanser works here because it adds mild exfoliation, which smooths the surface enough that foundation does not catch on texture. Rinse with lukewarm water, not hot, so you do not strip the barrier you are about to ask product to sit on.
Follow immediately with moisturizer, even if your skin tends oily. Makeup adheres to hydrated skin; it repels from dry or taut areas. Give it two to three minutes to sink in before you reach for primer. Two weeks of a basic routine changes how makeup sits and lasts, and that trial period also teaches you whether you run dry, oily, or combination, which decides every product that comes after. Skip either step and you are not saving time, you are borrowing trouble from the second half of your day.
Primer Application
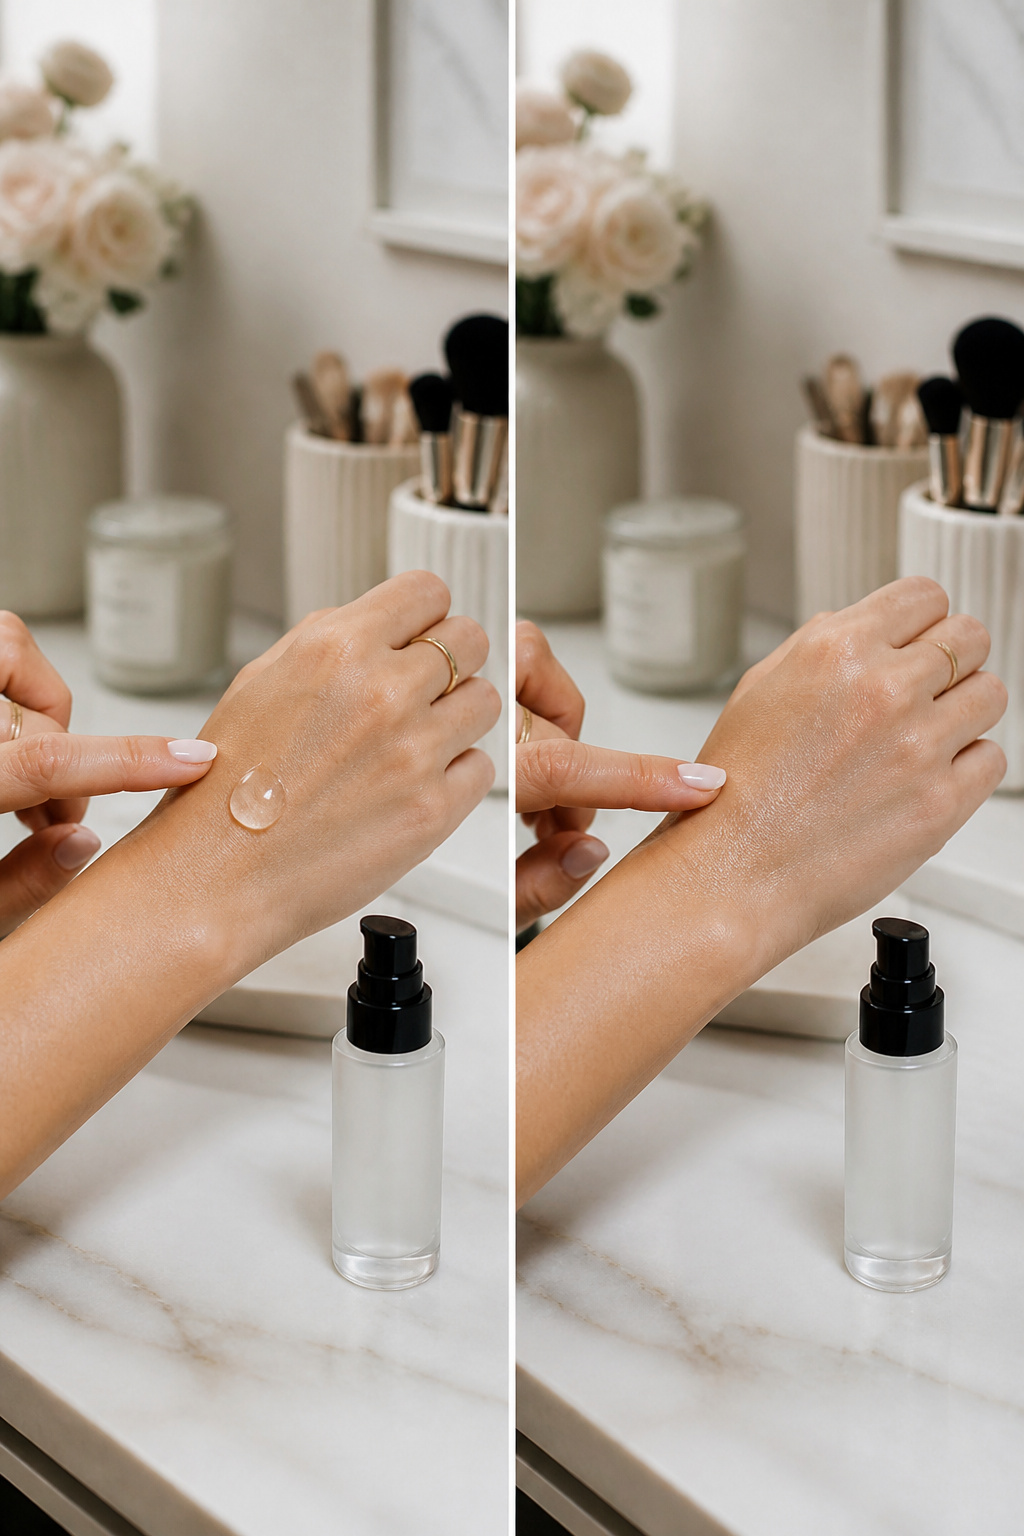
Primer is the step most beginners drop, and it is the one they miss most by noon. Your skin has texture, pores, fine lines, and minor imperfections that foundation settles into and slides off of. A primer fills those inconsistencies, smooths the surface, and gives makeup something to grip so it stays in place from morning to evening.
The choice between silicone-based and water-based formulas depends on what your skin actually does. Silicone primers fill and blur more aggressively, which suits oily or textured skin. Water-based primers sit lighter and work better on dry or sensitive skin that tightens or flakes under heavier products. Wait until your moisturizer has fully dried before you apply primer, or the two slip against each other and defeat the purpose. Start with a dime-sized amount in the center of your face and press it outward toward your hairline and jaw rather than rubbing. A little does cover the full face if you work thin.
Foundation Application
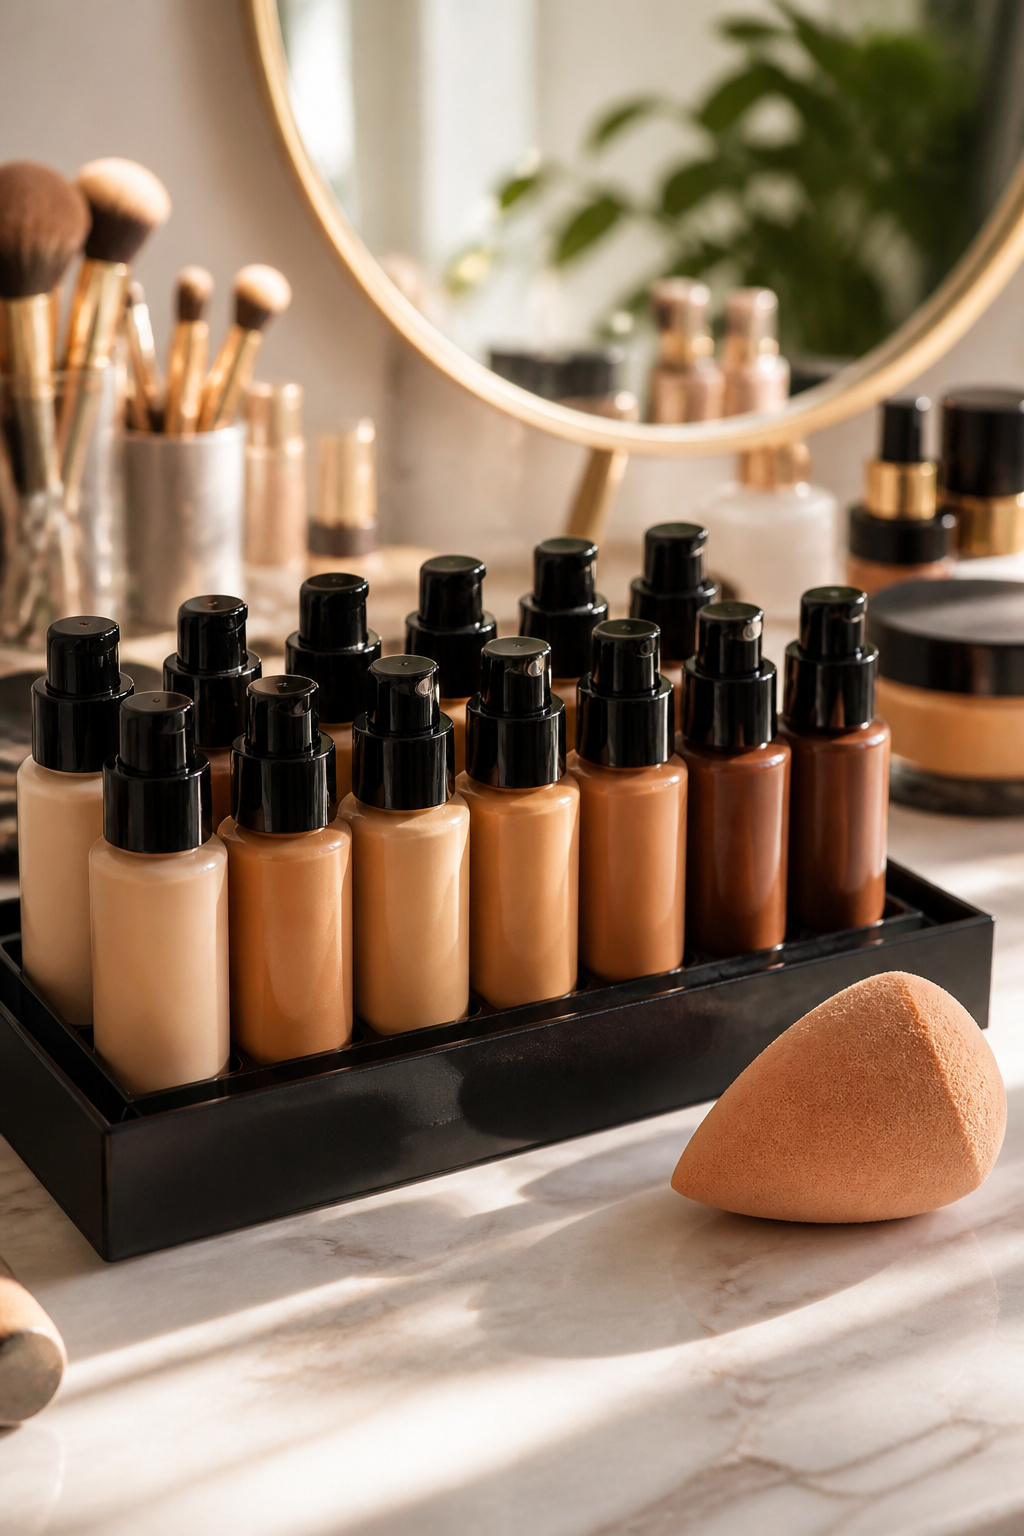
Liquid foundation is the safest starting point for most beginners because it forgives uneven application and builds from sheer to full without looking cakey. Cream sits heavier on dry skin and demands more blending skill, while powder foundation sets fast and rarely looks right if you have texture or flaking. Test shades along your jawline, not your wrist, and step outside into natural light before you buy. If the color disappears against your neck without rubbing, you have the match. Coverage runs from sheer, which lets freckles show through, to medium, which handles redness and minor discoloration, to full, which erases everything but reads as makeup rather than skin. Start sheer and add only where you need it.
"For beginners, I always recommend a lightweight skin tint. They’re much more forgiving than full-coverage formulas because they blend seamlessly into the skin and allow you to build coverage only where you need it."
— Allure
That means you can use your fingers for the first month instead of buying brushes you do not yet need. A damp sponge pressed over the top, stippling rather than dragging, will press the product into lines and pores for a smoother finish. Work from the center of your face outward, and wash your hands before you start, unless you want foundation prints on your phone, your door handles, everything you touch for the next hour.
Concealer Application
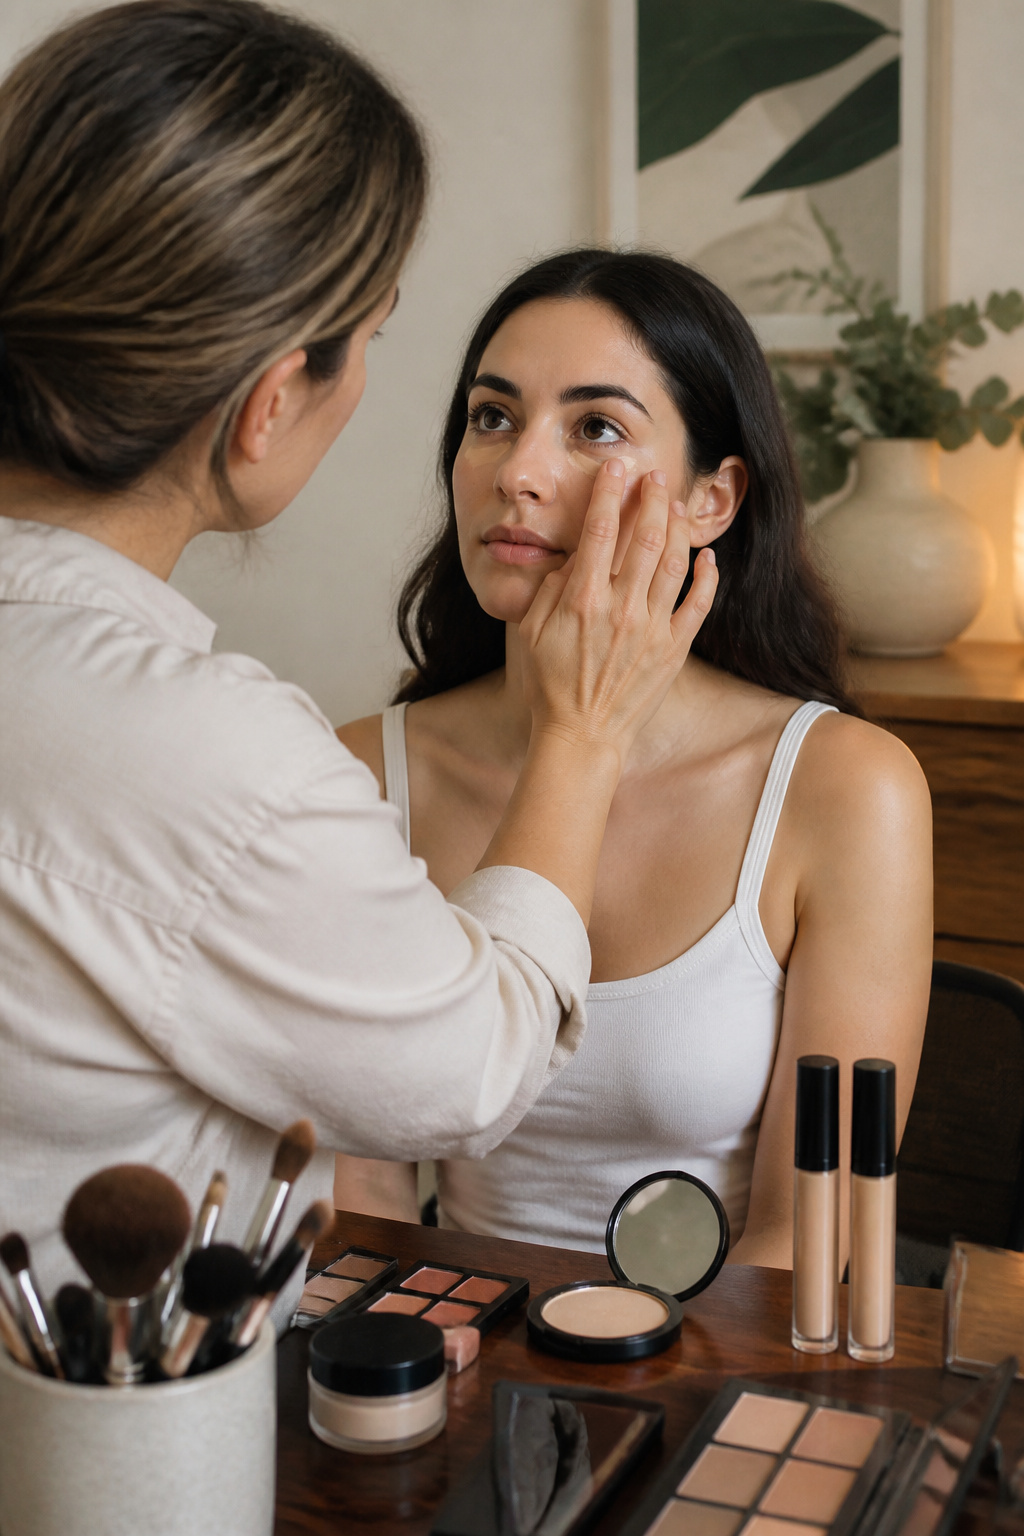
Buy two concealers. One matches your skin tone for dark spots and blemishes. One sits a shade lighter for the under-eye area, where a match to your face would read as shadow rather than lift.
The common mistake is loading it on. Start with less than you think you need. Tap a small amount onto the back of your clean hand, not straight from the wand, then press it in with a brush or your ring finger. Let it settle, step back, and add more only where you still see tone showing through. Foundation and concealer order is yours to test; some prefer concealer first, some after, and the difference is worth a morning to learn on your own face.
Setting Powder
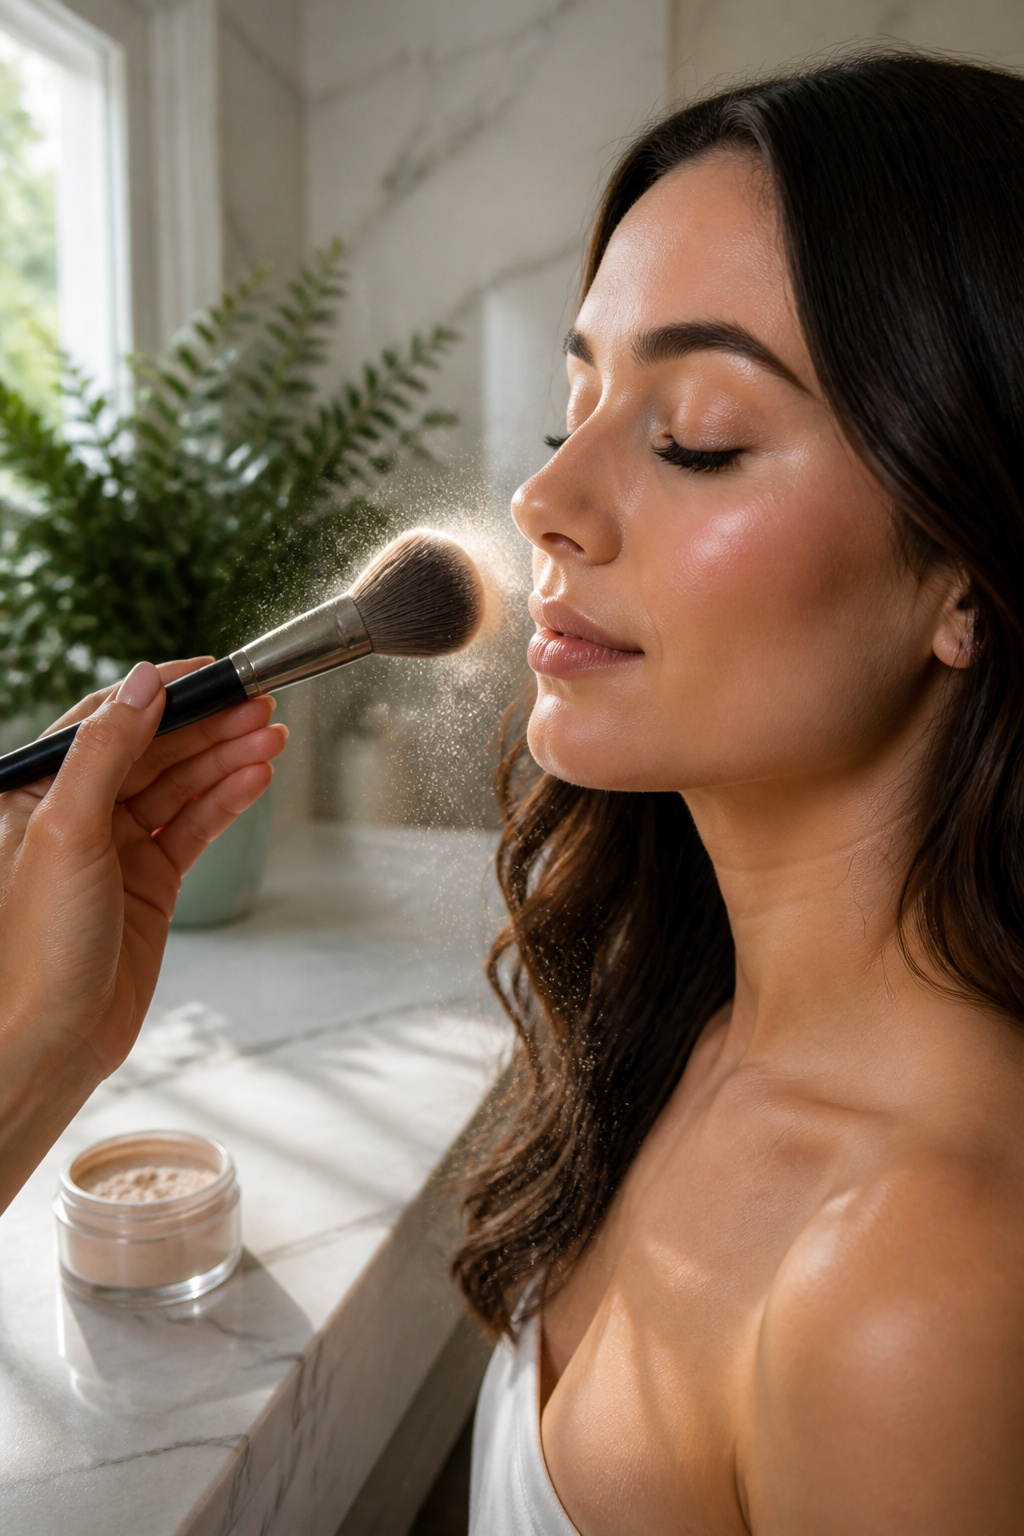
Once your foundation and concealer are on, they stay exactly where you put them only if you lock them down. Dusting on a setting powder does that: it absorbs oil before it breaks up your base, fills the fine lines where concealer likes to crease, and takes the shine off your forehead, nose, and chin without waiting for midday to do it.
You have two textures to choose from, and the difference matters for how you apply them. Loose powder is the safer starting point because it spreads thin and even; pressed powder packs more pigment per swipe and beginners tend to load it on. Either way, the mistake is pressing too hard or repeating the same spot. One light pass with a fluffy brush is enough. If you find yourself building a second or third layer to get that matte finish, you have already gone too far; the powder will sit on top of the skin, catch in pores, and turn cakey within a couple of hours. That risk doubles if your foundation happens to be self-setting, since extra powder on top has nowhere to go but into every line and patch.
Translucent is the forgiving choice across skin tones because it sets without adding color of its own. Sweep, do not buff, and step back to see the skin rather than the powder.
Bronzer, Blush, and Highlighter
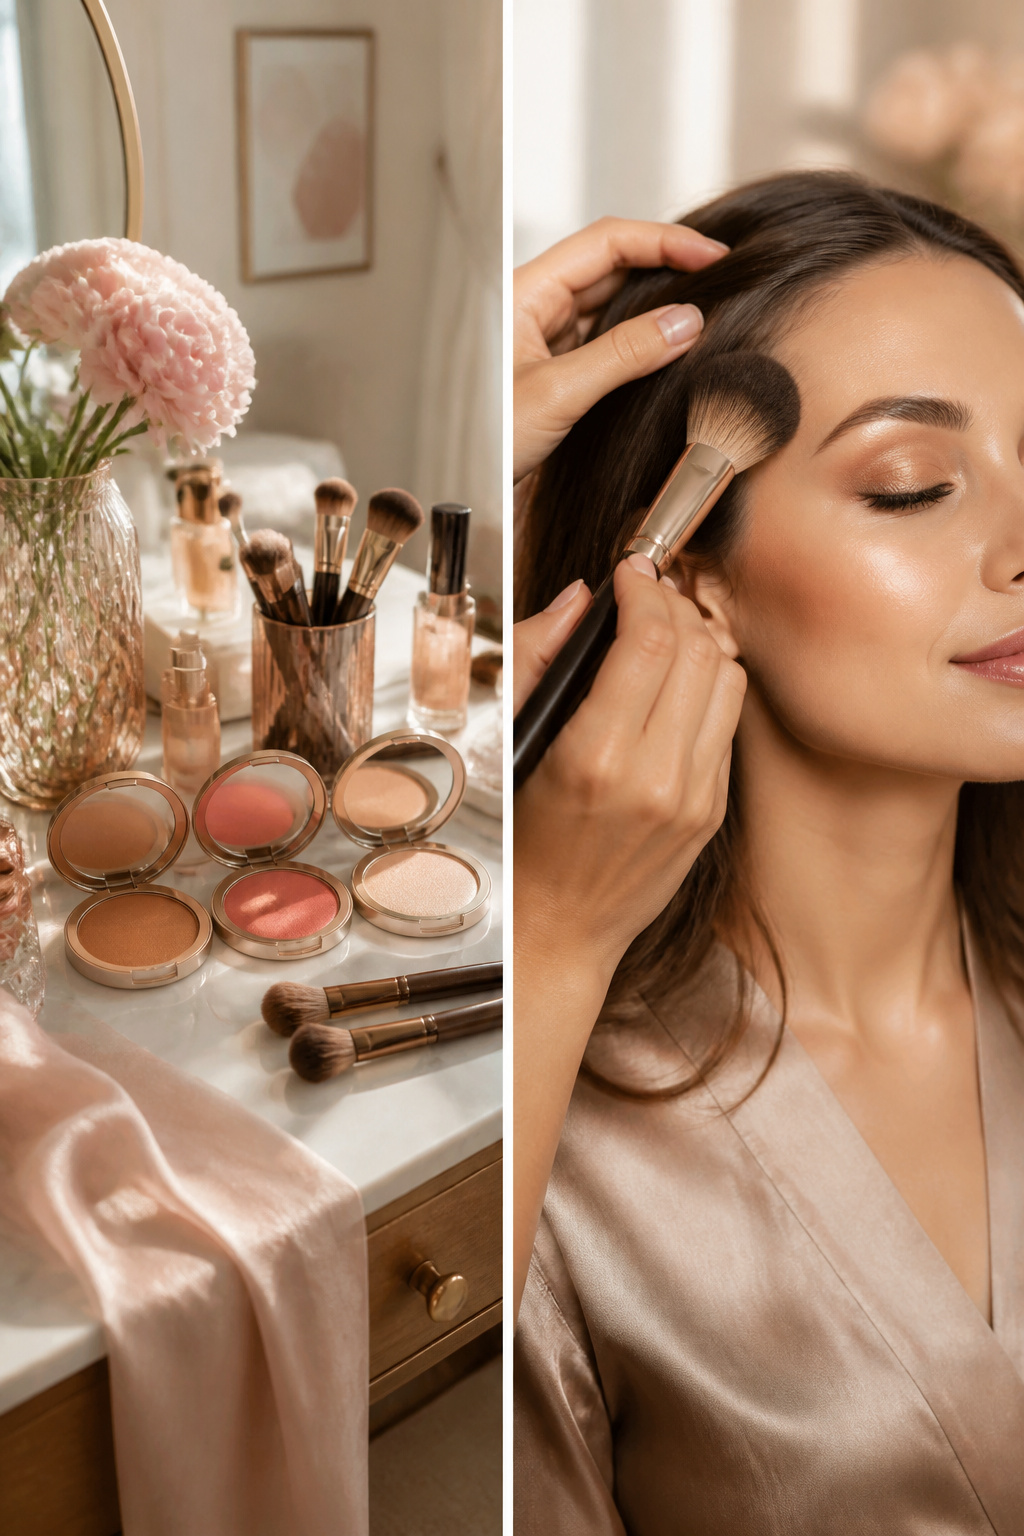
Bronzer belongs where sunlight lands first. Sweep it across your forehead, the bridge of your nose, the tops of your cheekbones, and your chin. Use a matte formula and a fluffy brush, then blend until the edge disappears into your skin. Skip the hollows of your cheeks; that is contour territory, and bronzer is about warmth, not shadow.
Blush goes on the apples of your cheeks. Smile gently, find the rounded front of the cheek that pushes up, and sweep the color there with the same fluffy brush. Build slowly. You can always add more, but you cannot subtract.
Highlighter comes last, catching light on the high points that bronzer already visited: cheekbones, brow bone, the inner corners of your eyes. A tiny dot under each brow arch lifts the whole eye area.
The order matters because powder over cream drags and streaks, and because each layer needs its own undisturbed moment to melt in. The stripe effect you see on beginners usually comes from too much product, too little blending, or applying all three in the wrong sequence and watching them fight instead of cooperate.
Eye Makeup
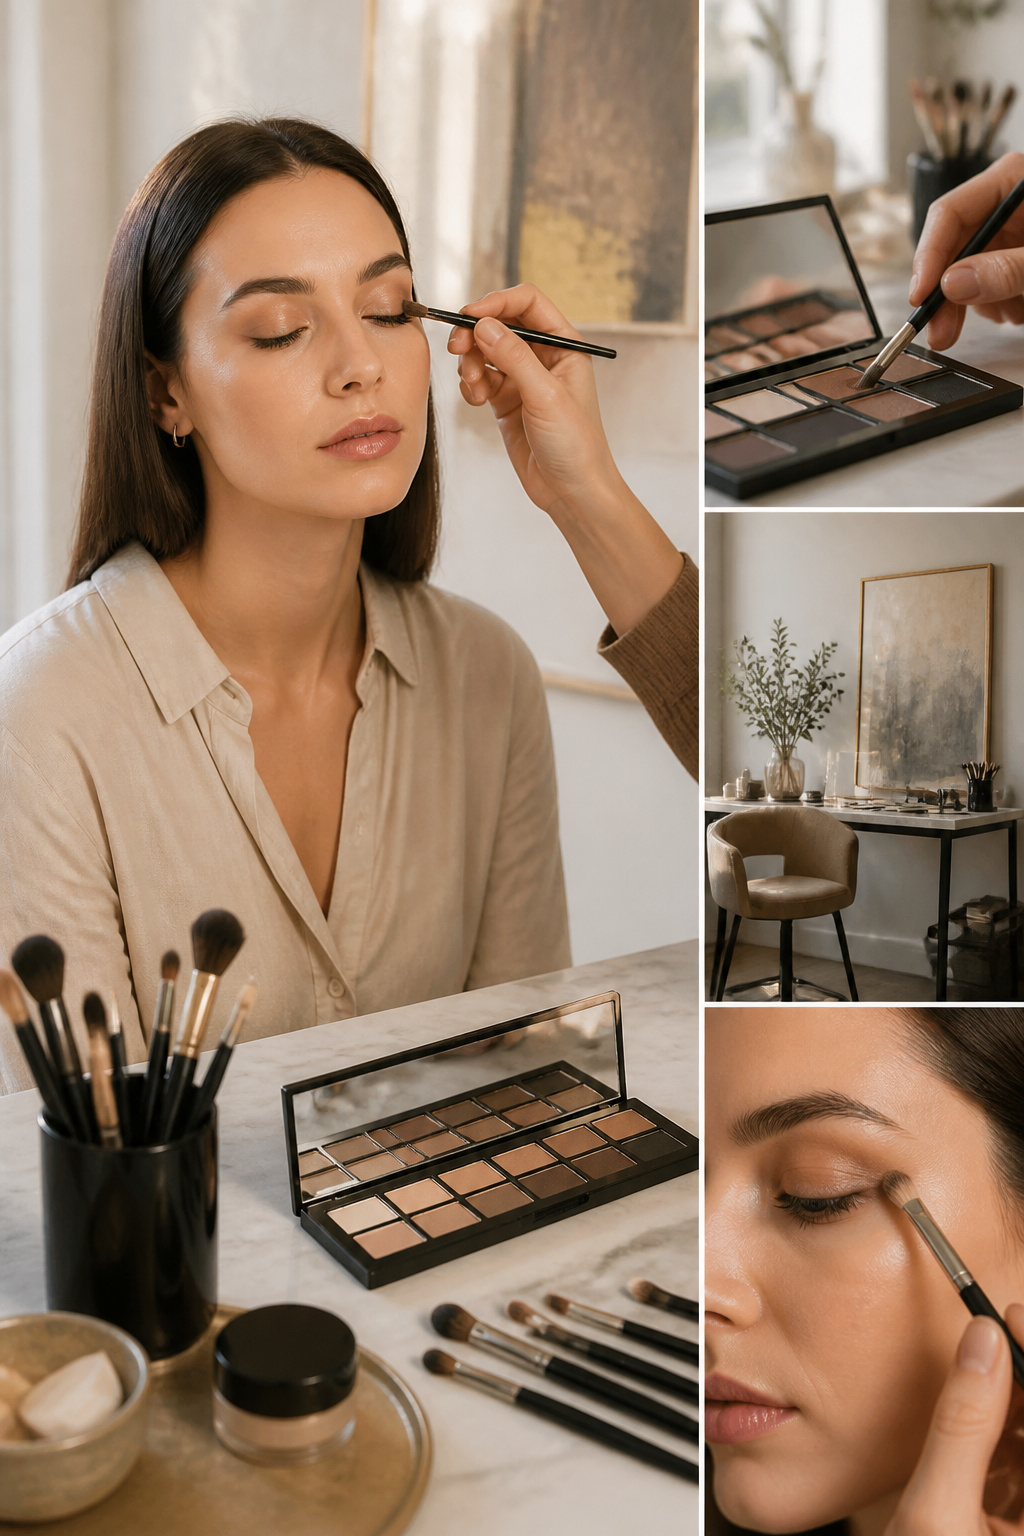
Eye makeup builds on everything beneath it, so work while your foundation and concealer are still fresh. Start with eyeshadow: a neutral matte powder in a flesh tone evens out lid discoloration and makes eyes look brighter and larger. Powder stays blendable longer than cream, which gives you time to correct mistakes. A curated neutral palette, something like the Makeup by Mario Master Mattes or a Natasha Denona Mini Matte, covers everything from barely-there definition to something more pronounced without drowning you in choice.
Blend until the edges disappear. That single skill separates obvious makeup from polished results. No visible lines between colors, no hard stops at the crease.
Eyeliner comes next, or skip it. Some teachers tell beginners to master mascara first and return to liner later. If you do use it, trace the upper lash line for soft definition or flick outward at the corners for a subtle wing. A felt-tip pen with a fine point controls the line better than a brush when your hand is still learning.
Mascara goes on last. Wiggle the wand at the base of your lashes and pull through to the tips. For natural volume and length, a lengthening formula with a clump-free build gives lash-by-lash separation and wears up to 24 hours without transferring. Two coats are usually enough; more, and you risk spider lashes that undo the polish you just built.
Eyebrow Grooming
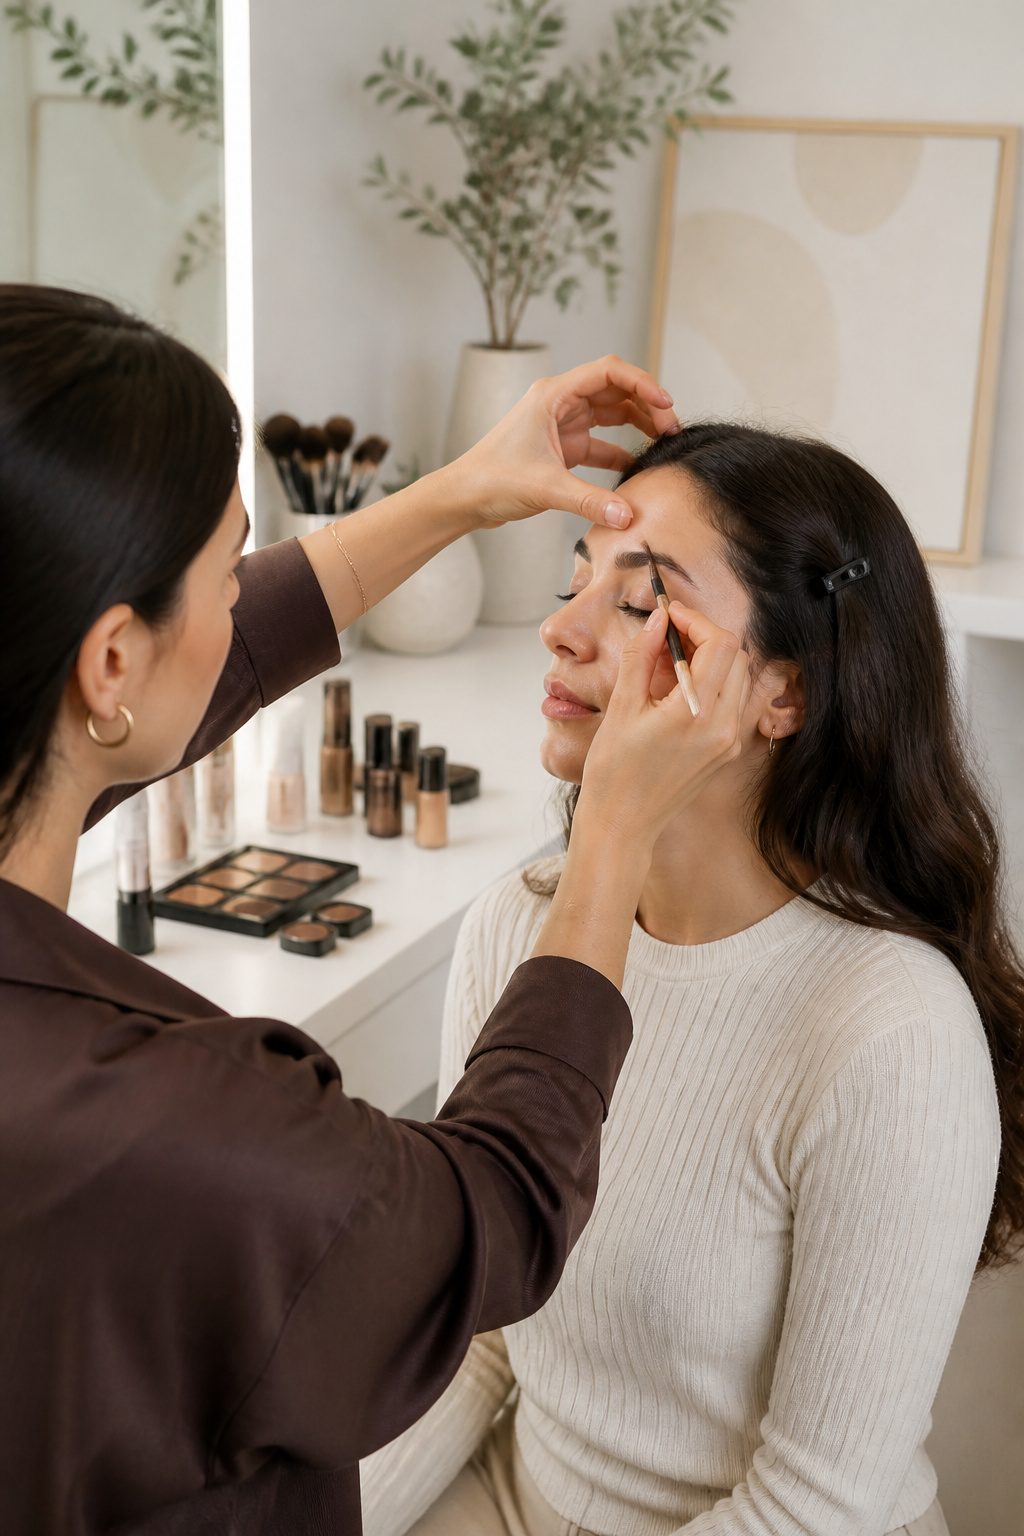
Brows frame the face before any other feature gets attention, and their shape sets the expression for everything that follows. Sparse or uneven arches pull the whole look off balance, so filling them in is where most beginners trip.
You have three tools to choose from, and each behaves differently. A pencil like the L’Oréal Paris Faux Brow Hair-Like Brow Filling Pen gives you the most control for placing individual strokes exactly where hair is missing. Powder softens the effect but can smudge if you touch your face. A tinted gel such as the L’Oréal Paris Infallible Up To 24HR Brow Lamination sets the shape and adds volume, though it builds color more slowly.
The common mistake is drawing one hard line across the brow instead of working in short, feathery dashes. Professionals rarely attempt a single continuous stroke; they build the shape from tiny strokes that mimic real hair direction, then blend so the individual marks disappear into a soft, seamless line. Start from the outside and work toward the center, switch direction, and finish from the inner corner outward. The result reads as natural architecture rather than a painted-on frame.
Lip Color
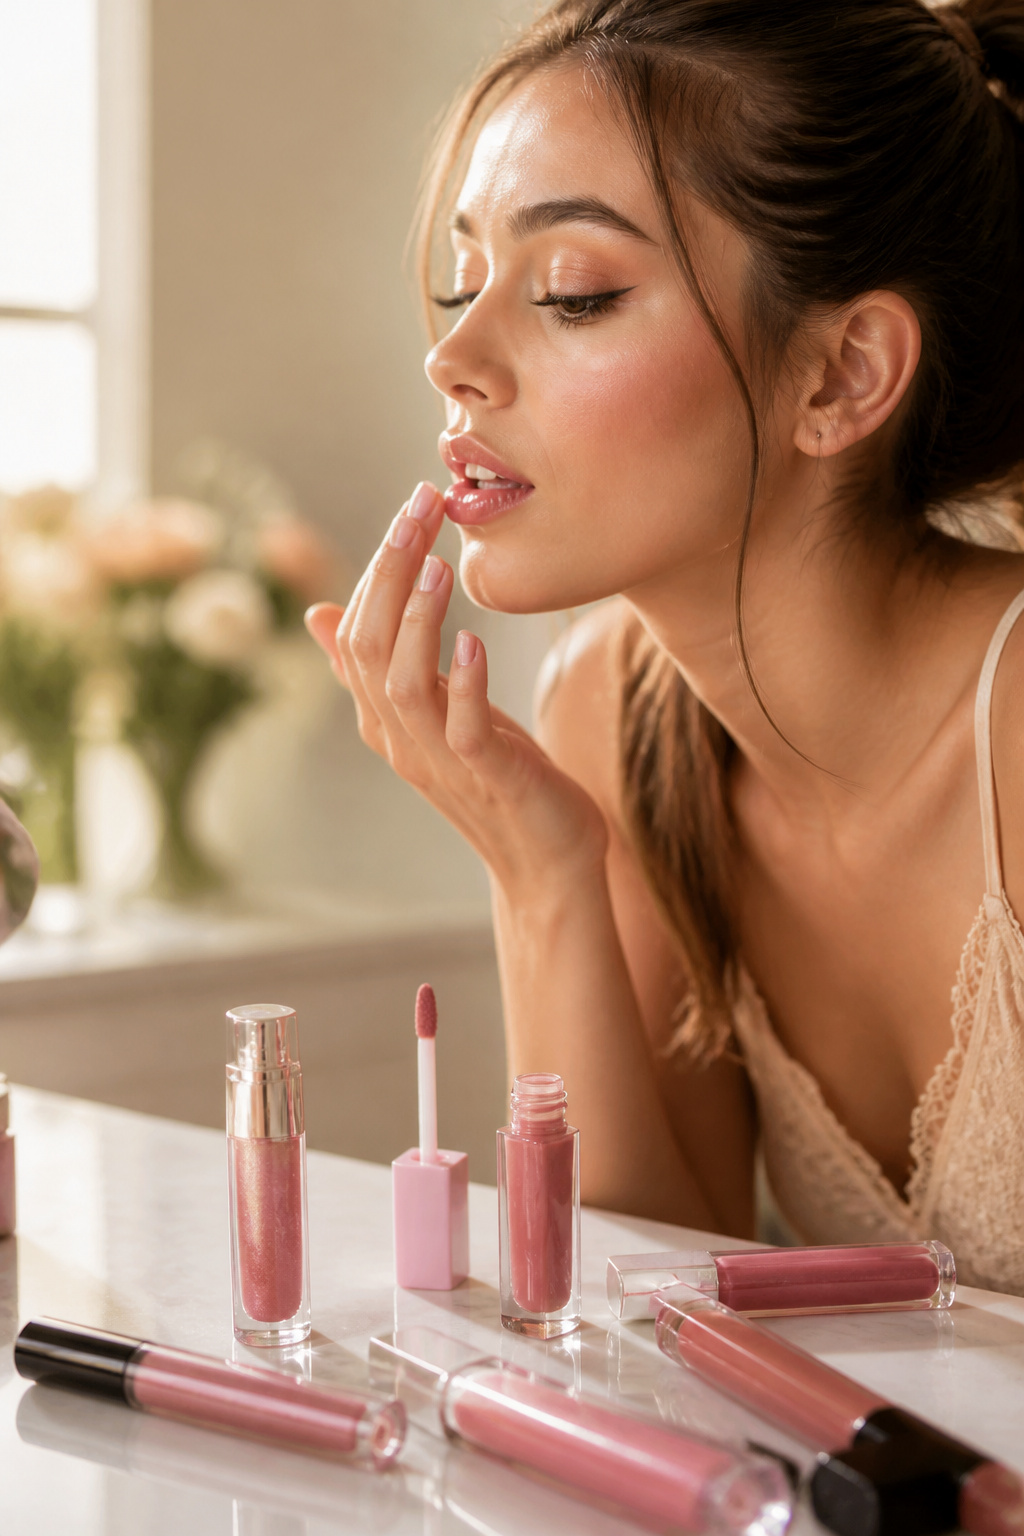
Lip color is where most beginners either overthink or underthink, and both show. You have three formats to choose from, and the right one depends on how much correction you want versus how much patience you have. A bullet lipstick gives you the most control and the most pigment; a liquid lipstick stays put longer but demands a steady hand at the edges; a lip gloss, like the Paradise Hyaluron Lip Oil, forgives almost everything and reads as effortless even when you applied it in a rush. The Revolution Peptide Glaze Tinted Lip Serum sits in the middle, conditioning while it tints, which is why it works for people who do not yet own a lip scrub.
If you want the color to last without looking painted on, apply one layer, blot gently with a tissue, and apply a second thin layer. The blotting removes the oils that slide off first; the second layer anchors to the stain left behind. This is how you get longevity without the mask-like finish that heavy single coats give you. Skip the lip liner until you are comfortable with the shape; most beginners draw a harder line than they mean to, and soft edges are easier to fix.
Setting Spray
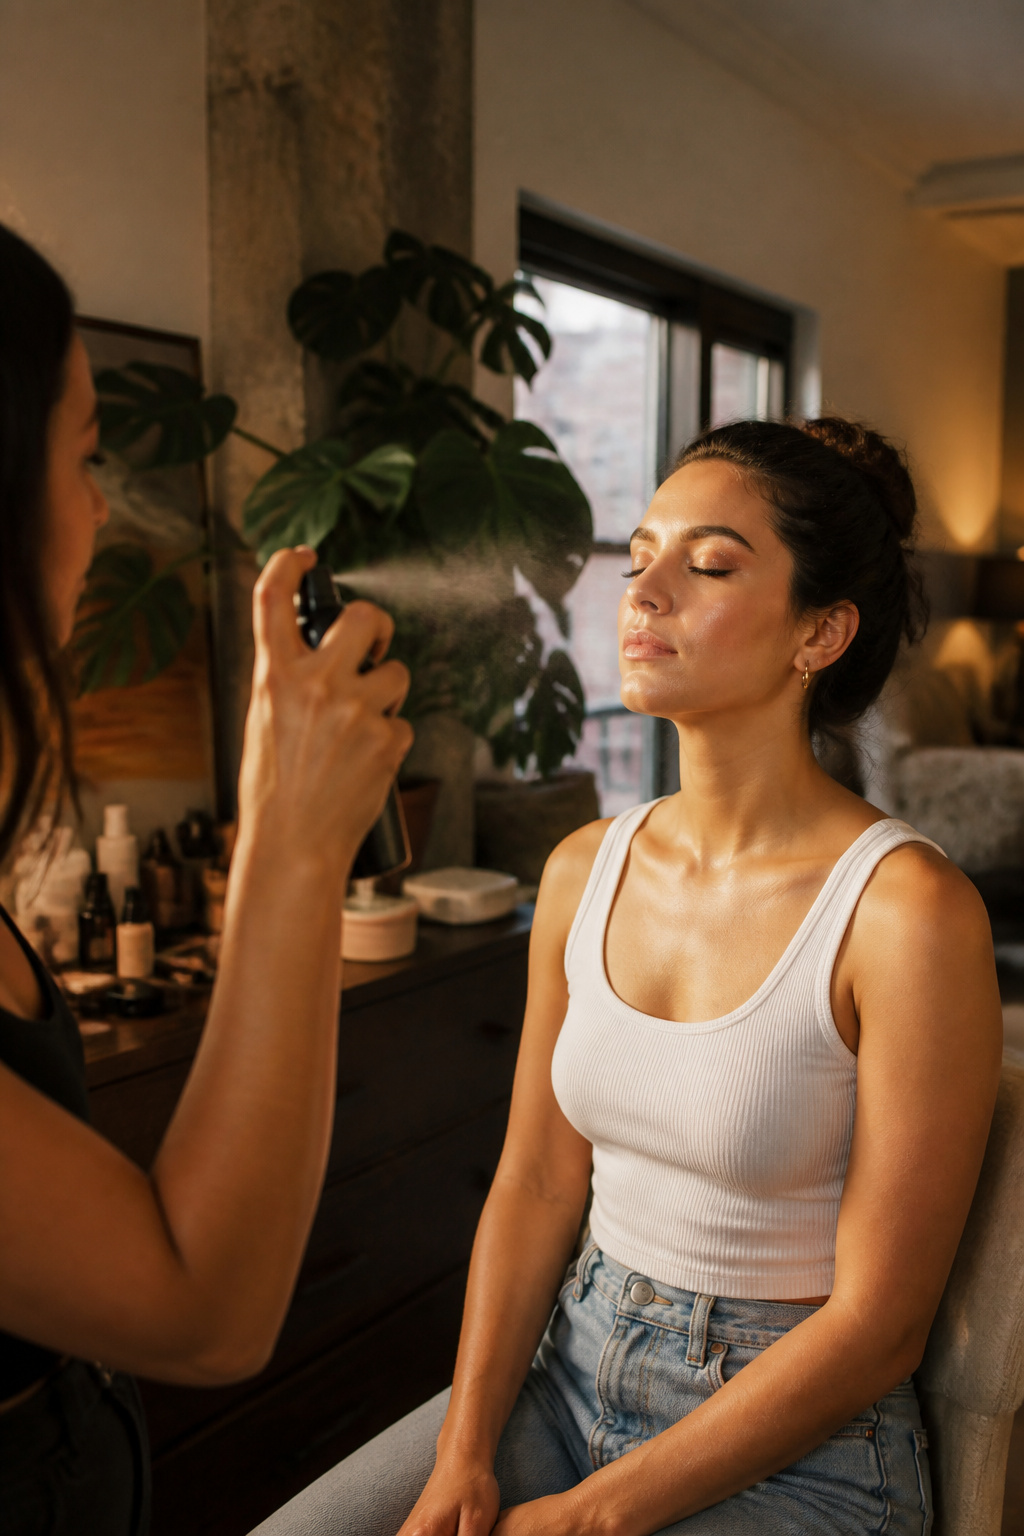
Setting spray is the step that takes your look from house-ready to day-long. You have probably seen the two terms, setting spray and fixing spray, and they are not the same thing. A setting spray, like the ColorStay Lock Setting Mist, works as a final seal: it prolongs wear, reduces transfer, and keeps makeup from melting or settling into lines. A fixing spray, like the Revolution Superfix Fixing Mist, binds everything together and extends wear from a different angle. Use setting spray when you need to lock in the finish and prevent smudging; reach for fixing spray when you want to fuse layers into one solid surface. Most beginners only need one, and a standard setting spray handles the daily job. Hold it at arm’s length, mist in an X and a T across your face, and let it dry without touching. That thirty seconds of stillness is what keeps your work intact through heat, humidity, and hours of wear.
The Full Product List
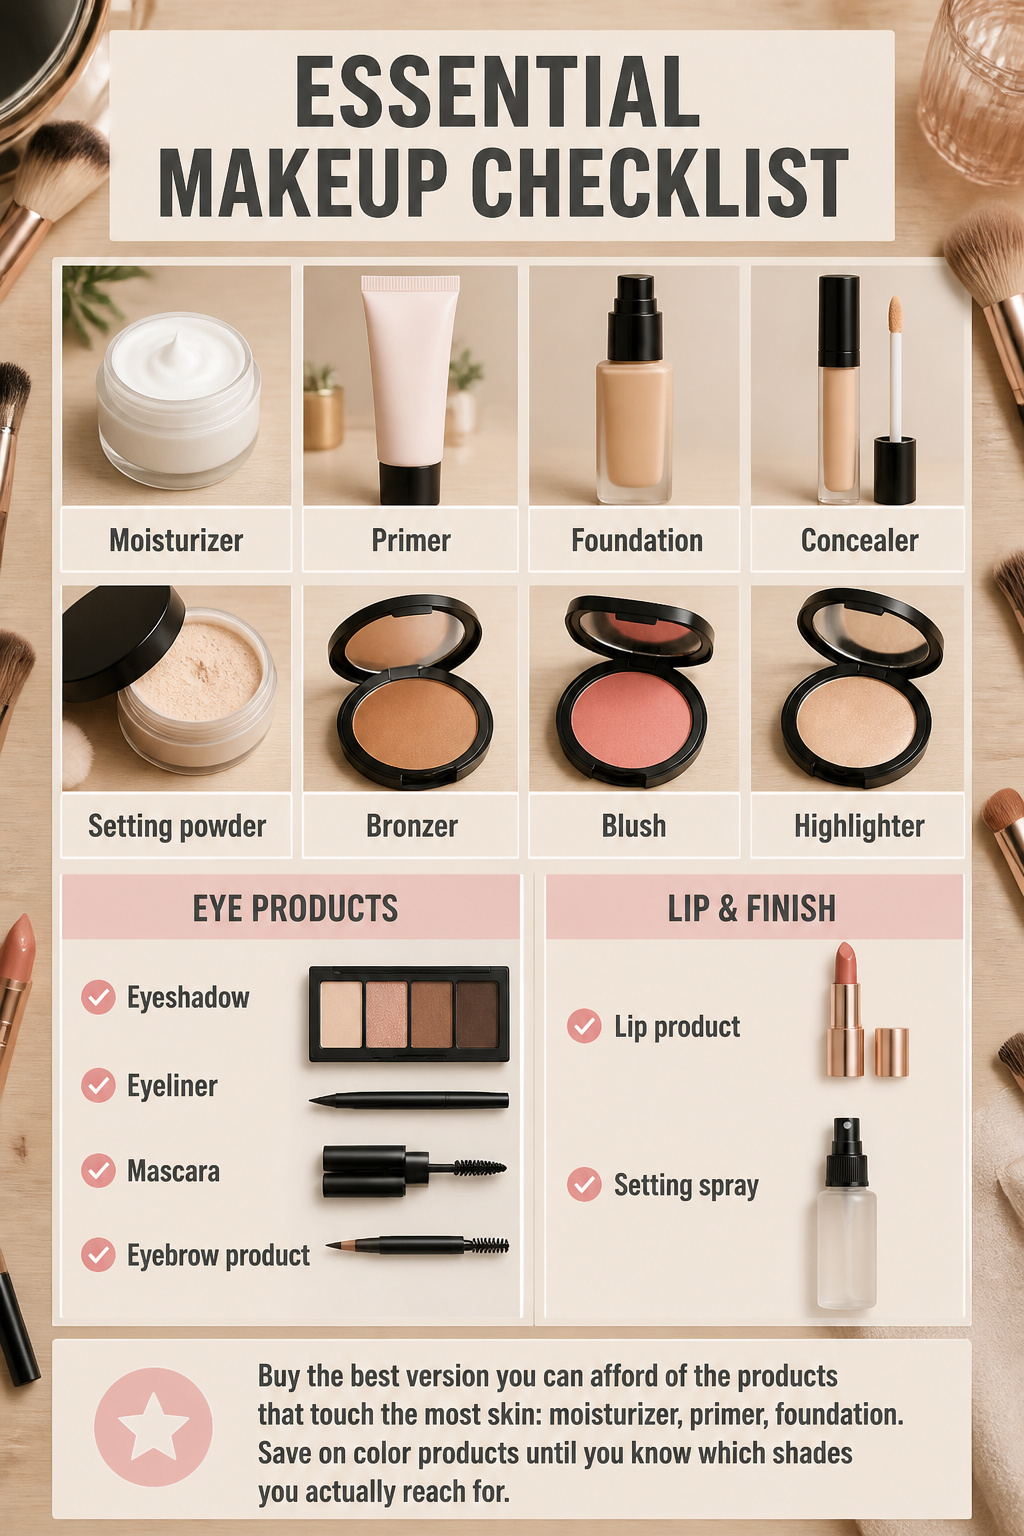
Before you open a single compact, lay out everything you need. Running back to a drawer with wet foundation on your face is a mistake you make once.
Here is the full checklist:
- Moisturizer – the base layer that keeps everything from clinging to dry patches
- Primer – gives the rest something to hold onto
- Foundation – evens out tone across your whole face
- Concealer – targets spots and dark areas foundation misses
- Setting powder – locks the liquid layers in place
- Bronzer – adds warmth and shapes where light would naturally hit
- Blush – brings color back to the cheeks
- Highlighter – catches light on high points like cheekbones
- Eyeshadow – builds depth and color on the lids
- Eyeliner – defines the lash line
- Mascara – darkens and lifts lashes
- Eyebrow product – fills gaps and sets shape
- Lip product – color or balm, your choice
- Setting spray – the final seal that keeps it all from moving
Buy the best version you can afford of the products that touch the most skin: moisturizer, primer, foundation. Save on color products until you know which shades you actually reach for.
Choosing Products for Your Skin Type
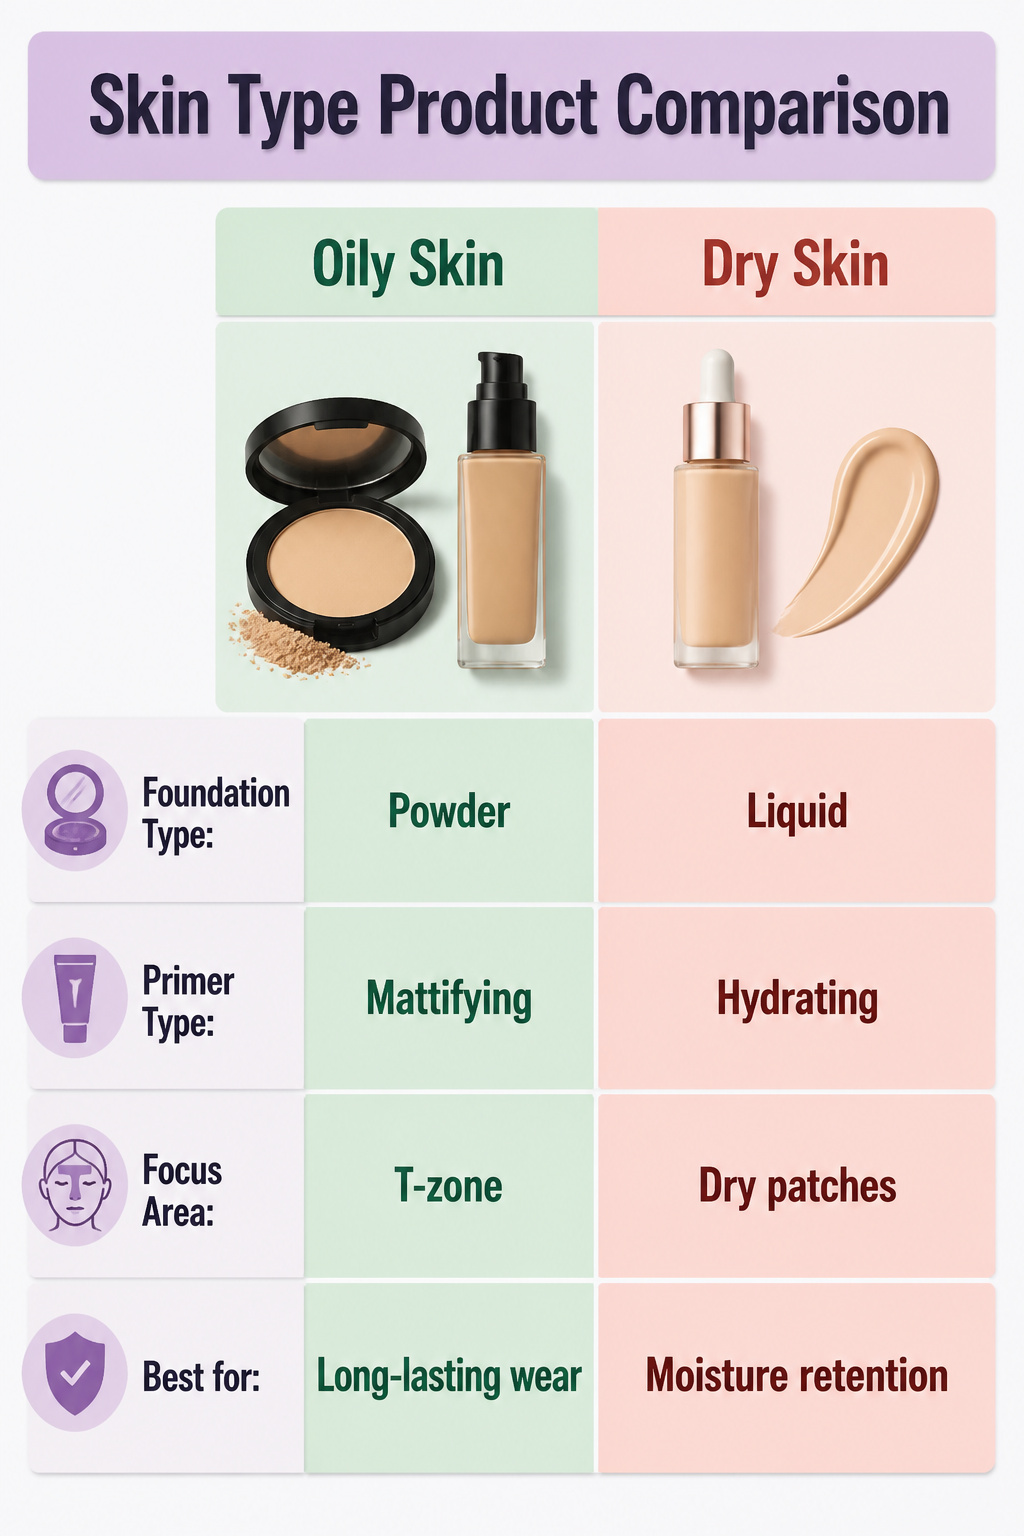
Half of beginner makeup fails within two hours because the base product fights the skin instead of working with it. You notice it in the T-zone first: foundation sliding off, or flaking at the cheeks, or doing both at once. That is almost always a mismatch between formula and skin type.
Oily skin needs powder foundation or a mattifying liquid paired with a pore-filling primer. The primer goes where makeup wears off fastest, usually the center of the face. Dry skin does the opposite: a hydrating liquid foundation and a smoothing primer that adds moisture rather than stripping it. Combination skin splits the difference, and that is where beginners trip most often. You treat the oily zone with powder and the dry zone with liquid, or you choose a single balancing primer and accept that one area will need more attention.
The L’Oréal Paris Infallible 32HR Fresh Wear Foundation is built for that full-day wear, but only if the primer underneath matches your skin’s actual behavior. A radiant serum concealer like the True Match line can brighten, yet it will settle into lines if the primer skipped the dry patches. The wrong base does not just look bad; it guarantees the rest of the ten-step guide is invisible by lunch.
Tools and Application Techniques
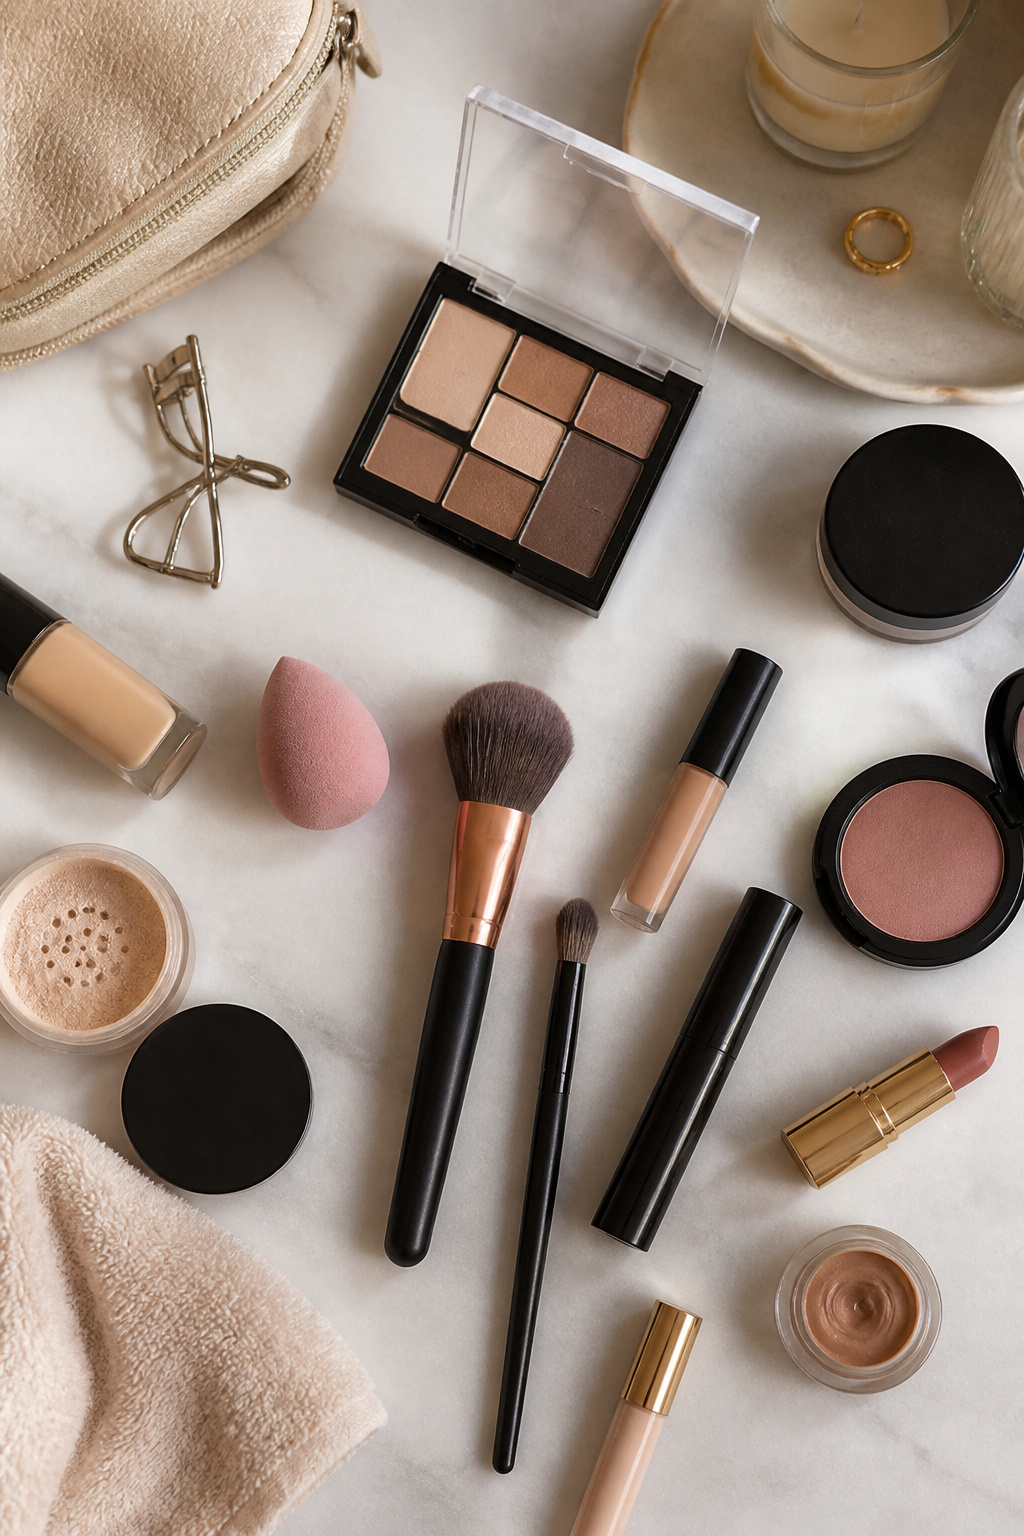
Use a damp sponge for foundation, a brush for powder, and your fingers for cream products. The warmth of your hands actually melts cream formulas into the skin, which is why skin tints and cream blushes go on smoother with fingertip application than with any tool. For foundation, dot it on first, then bounce the sponge over your face to blend; this removes excess product and keeps the finish from looking streaky. Thin layers are your friend here. Start in the center where redness shows most, then blend outward toward the hairline. It is much easier to add another swipe than to remove too much.
Powder products need a fluffy brush. Press translucent setting powder lightly over the areas that get oily first: forehead, nose, and chin. The brush keeps the application sheer and prevents the cakey look that comes from pressing too hard or using the same sponge you used for liquid base. Whatever tool you choose, build coverage gradually rather than laying it all down at once. That is where most beginners go wrong. They try to get full coverage in a single pass, then wonder why the finish looks mask-like. Two thin layers blended properly almost always look better than one thick one.
Mistakes Beginners Make
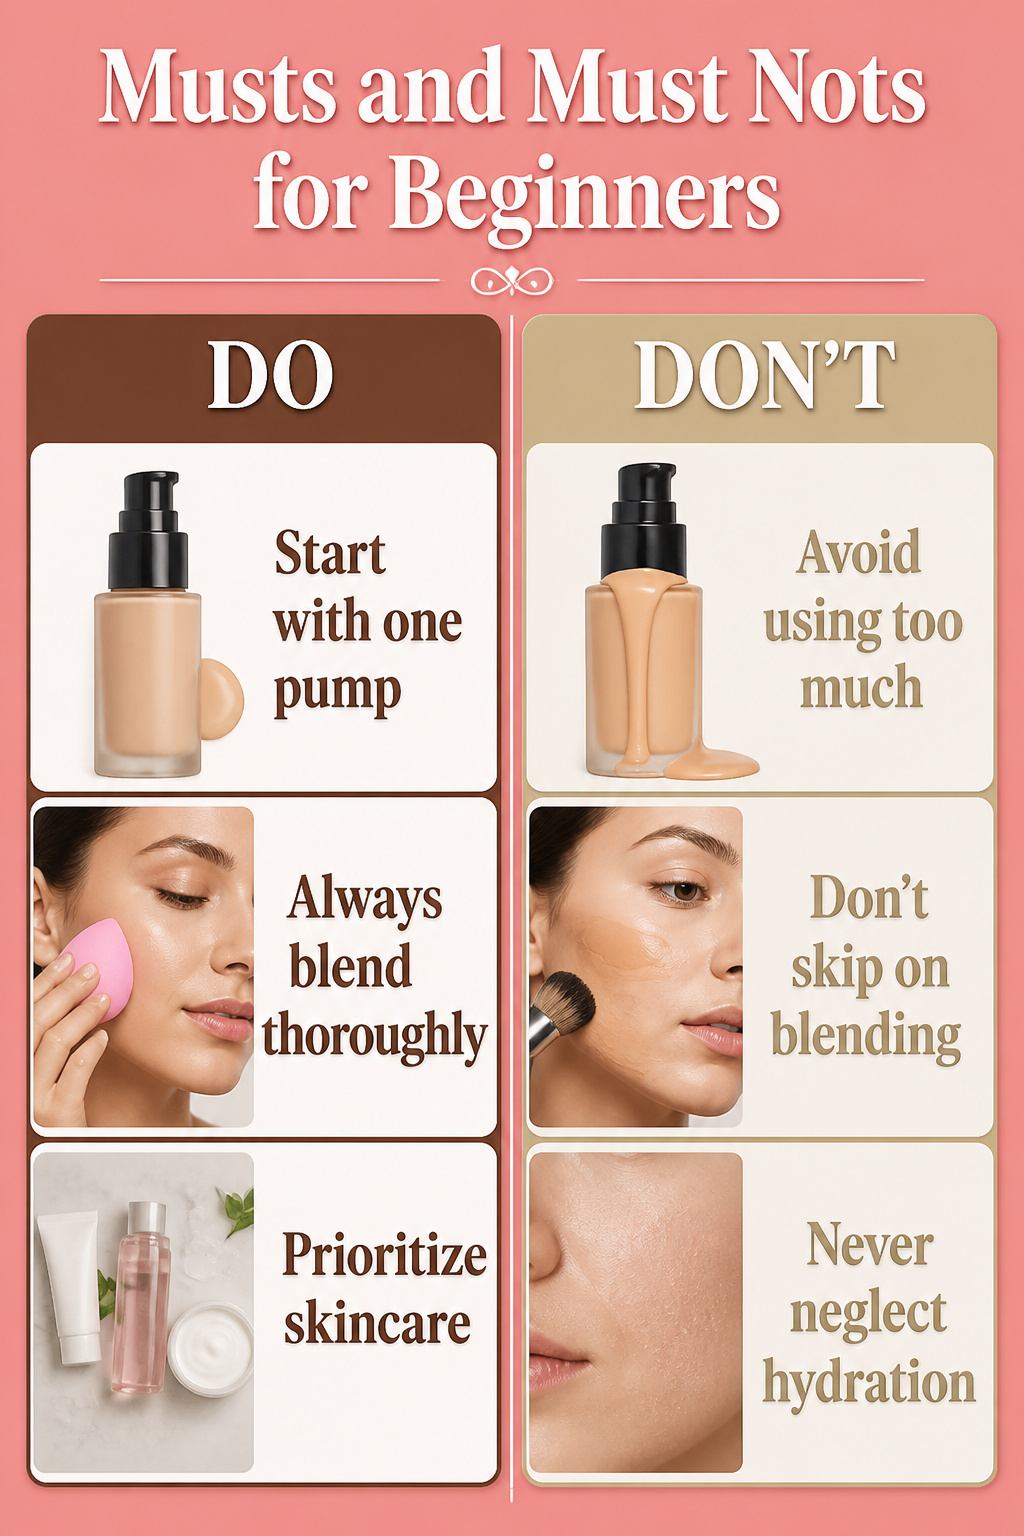
You will make three mistakes almost every beginner makes, and each one has a simple correction.
- Too much product. One pump of foundation covers the whole face. Start there, blend it out fully, then decide if you need more. Adding extra before you have assessed the first layer is what creates the mask-like look you are trying to avoid.
- Skipping blending. Unblended makeup reads as obvious makeup. Use a damp sponge or a brush with tapping, pressing motions rather than dragging. Blend outward toward the hairline and jaw so no edge sits visible against your skin.
- Neglecting skincare first. Foundation clings to dry patches and flakes off through the day. Cleanse, moisturize, and let it absorb for a few minutes before you pick up any color product. Makeup on hydrated skin needs less work to look smooth.
Frequently Asked Questions
What is the correct order to apply makeup?
The correct order is skincare, primer, foundation, concealer, setting powder, bronzer, blush, highlighter, eyeshadow, eyeliner, mascara, eyebrow products, lip products, and setting spray. Each product is designed to layer on top of the one before it, so skipping the sequence makes everything harder to blend and shorter-wearing. The article lays this out as a ten-step guide that beginners can follow without guessing.
How do I choose the right foundation shade?
Test shades along your jawline, not your wrist, and check the match in natural light before you buy. If the color disappears against your neck without rubbing, you have the right shade. The skin on your hand is a completely different tone than your face, so wrist swatches give almost no useful information.
What are common mistakes beginners make?
The three most common mistakes are using too much product, skipping blending, and neglecting skincare first. Start with one pump of foundation and add only after blending fully; use tapping motions with a damp sponge or brush and work outward toward the hairline; and always cleanse and moisturize, then wait two to three minutes for absorption before you pick up any color product.